10 Ideas for Planning a Dreamy Pastel Fairy Kid Birthday Party
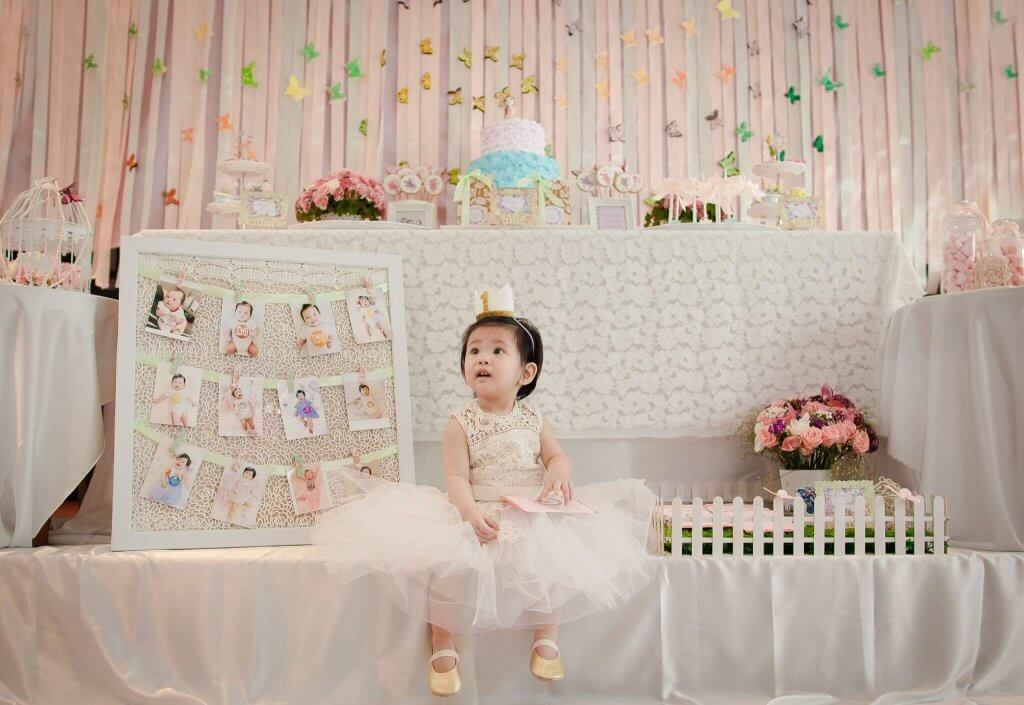
My best friend and I were ecstatic when planning this dreamy fairy first birthday party for a sweet little girl. We had so many ideas and it’s like we have always been wanting to do this for our own birthdays but sadly, we are too “old” for a fairy themed party. We used all of our creativity and resources to make this party as nearly perfect as possible because this was not only for our birthday girl, but also for us!!! (planners can overstep boundaries sometimes!!!) And lucky for us planners, our birthday girl’s mommy was very easy-going and let us do whatever we wanted for the event; therefore, we can stretch our wings and unleash all of our imagination and creativity to make this one the best and the most memorable for our client for many more years to come!
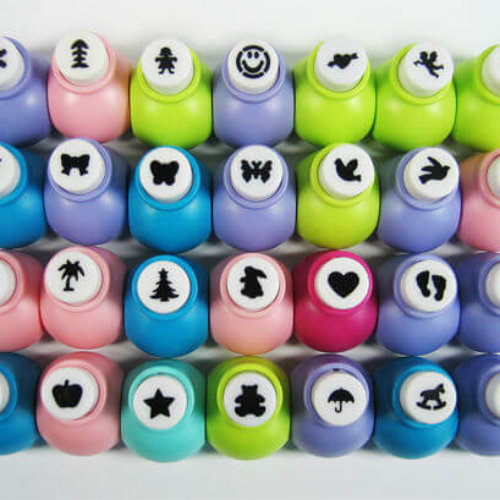
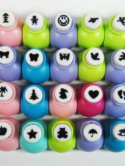
The color theme we chose for our event was pastel colors (pastel pink, pastel blue, pastel purple,…). We used shape cutters in star, flower, and butterfly shapes to create lots of handmade decoration details for our backdrop and our main table. Here are some DIY ideas that you can easily pull off at home!
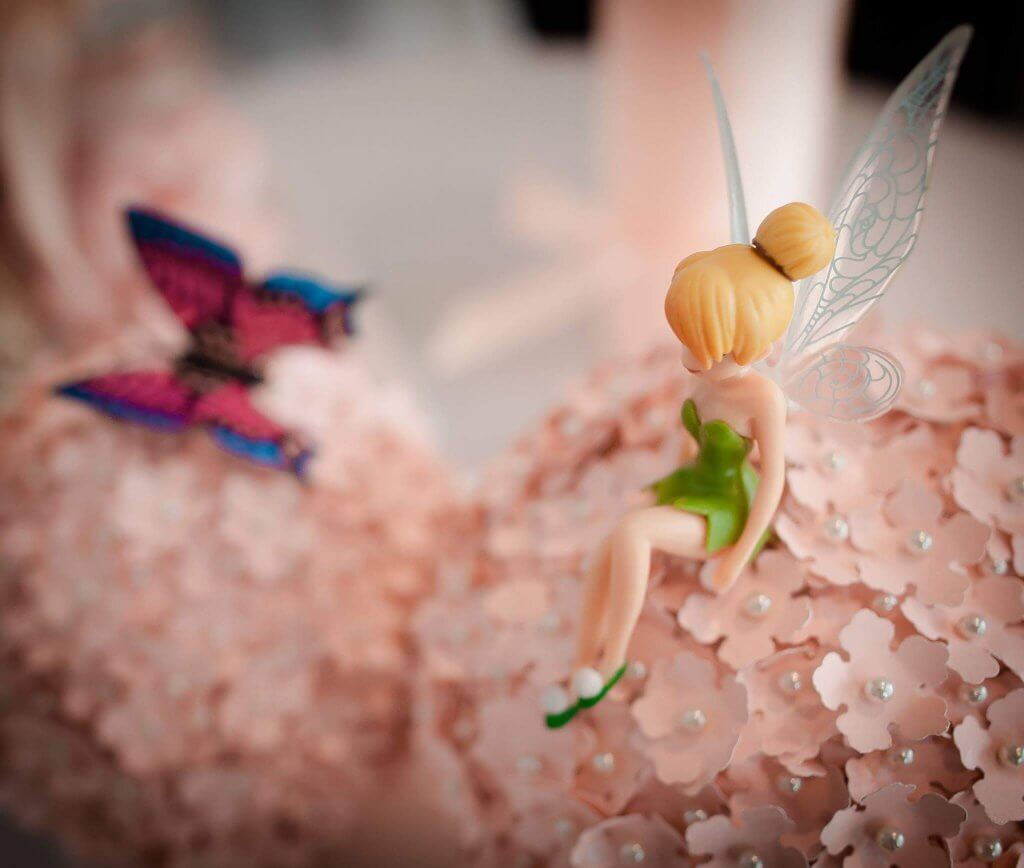
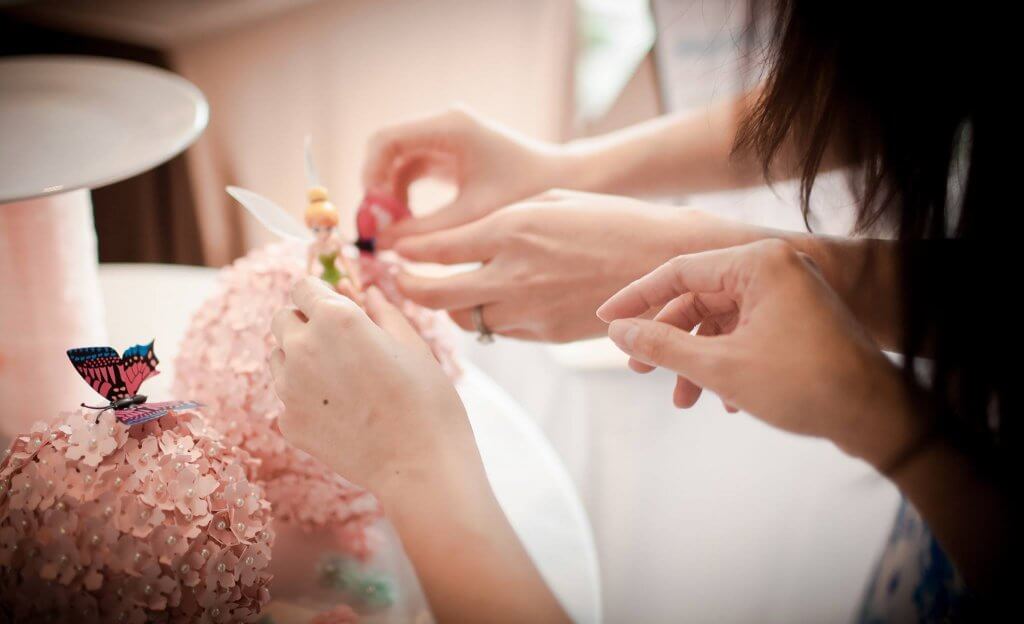
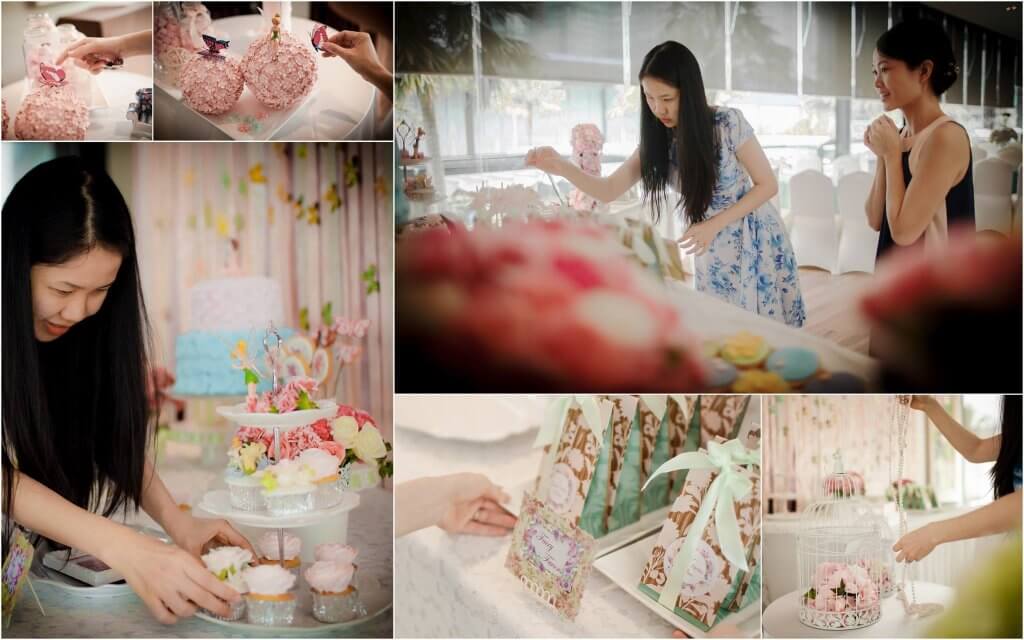
1.The fairy floral balls: round foams, shape cutters, white jospin pearl needle, and color papers,…
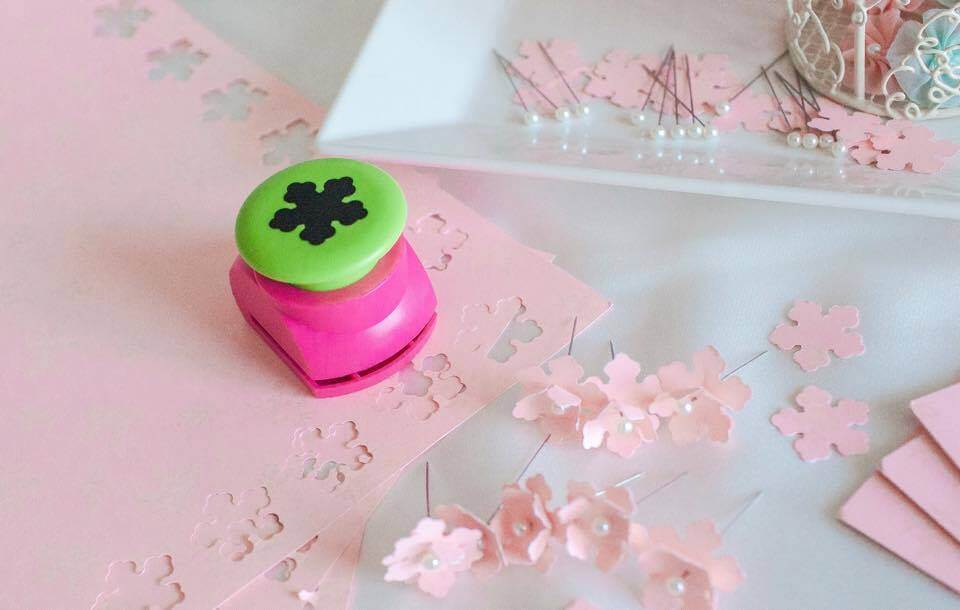
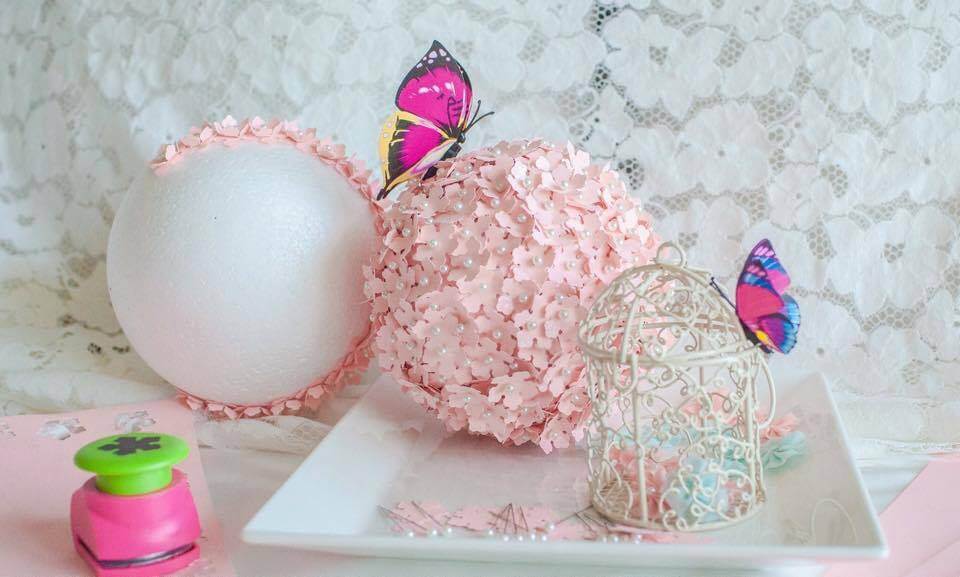
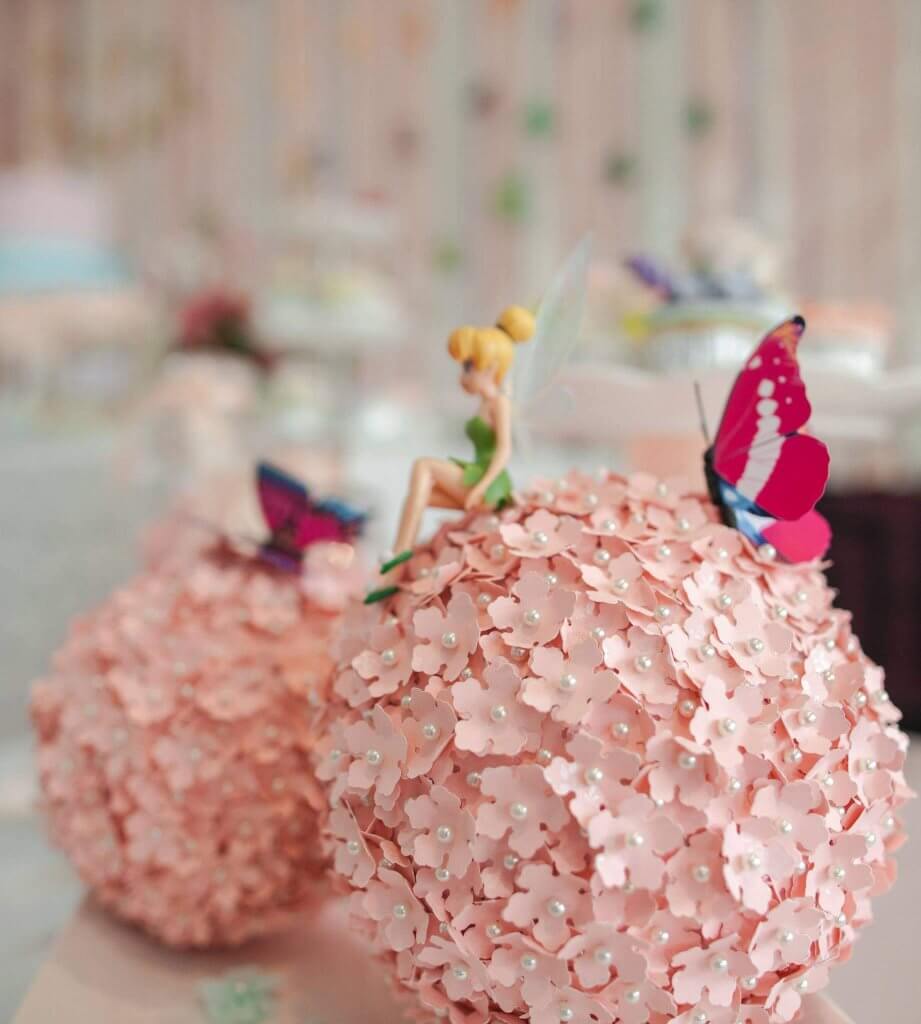
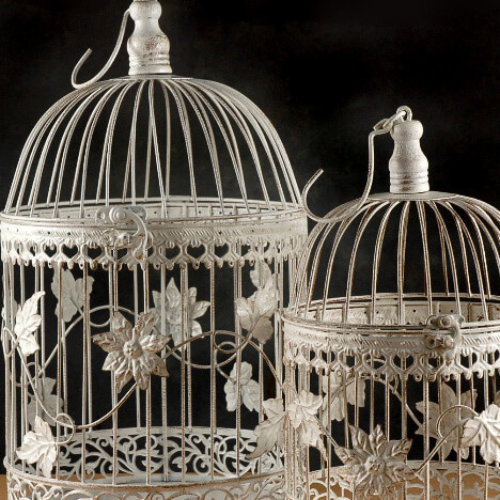
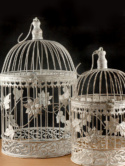
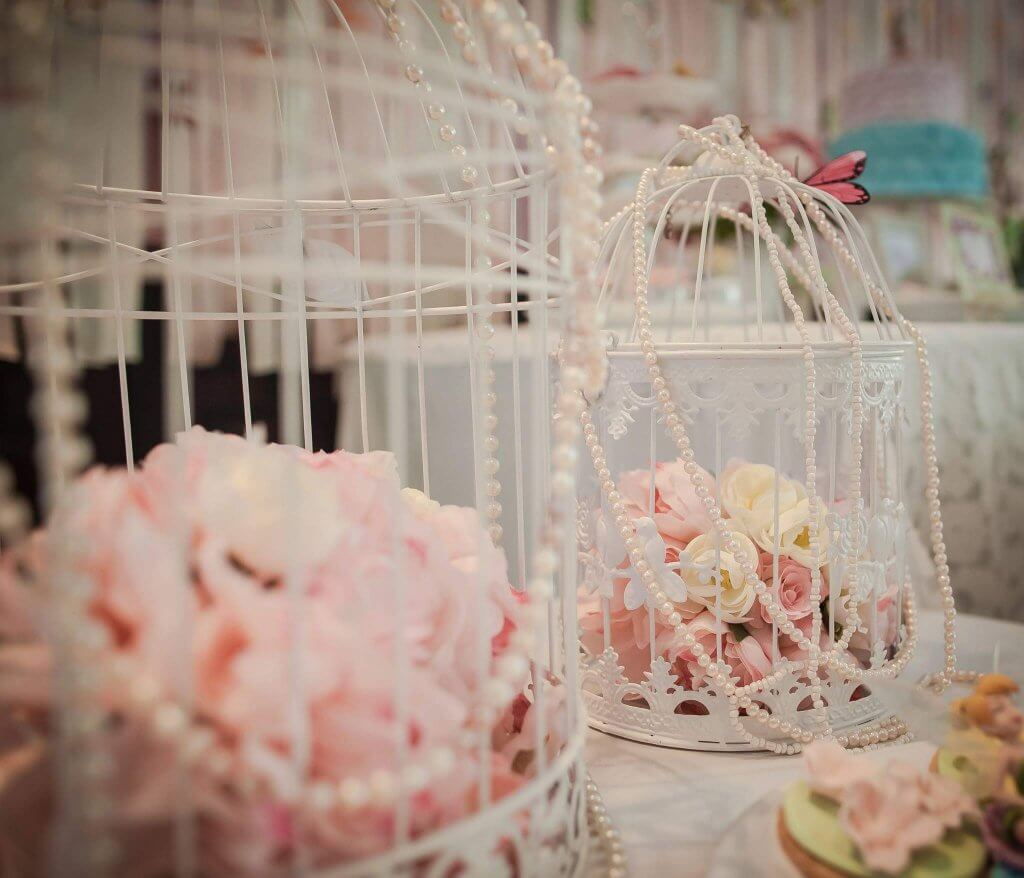
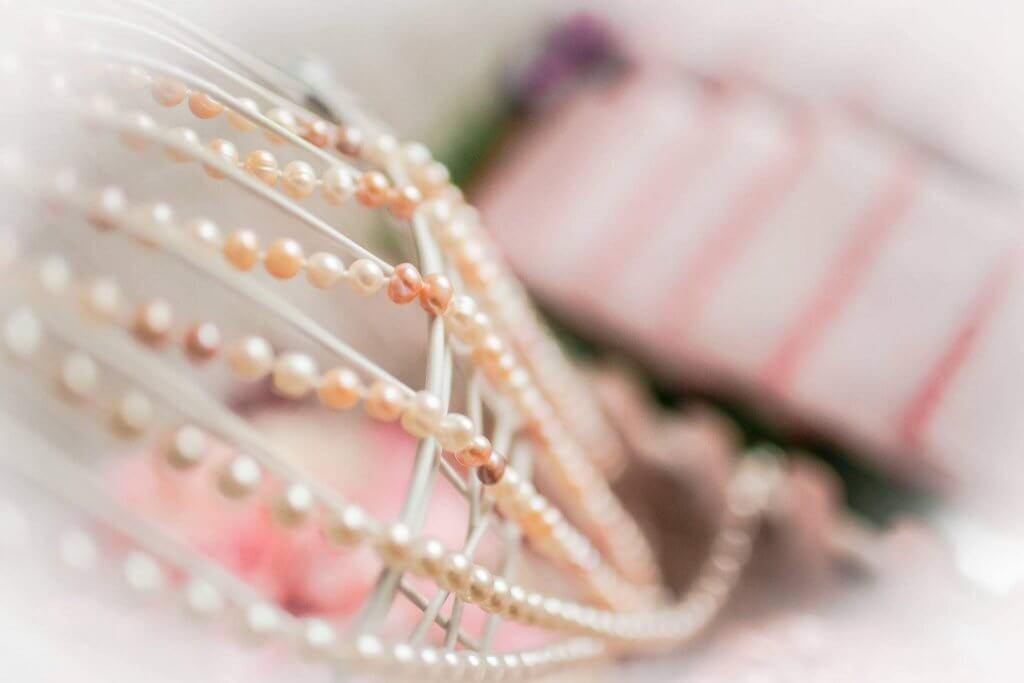
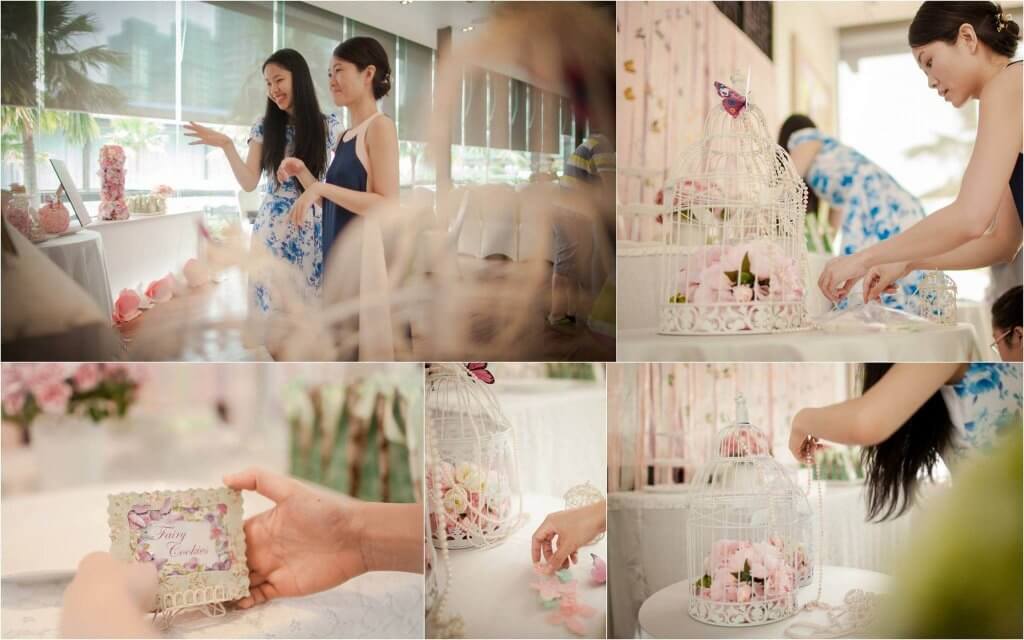
2. White Floral Bird Cages: you can easily purchase white bird cages on Amazon.com or at Ikea, and fill these lovely cages with pastel-color artificial flowers. Use some pearl strings to hang around the cages.
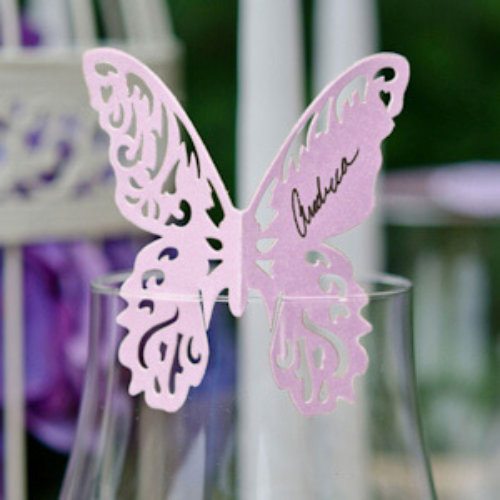
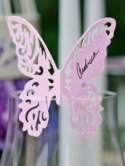
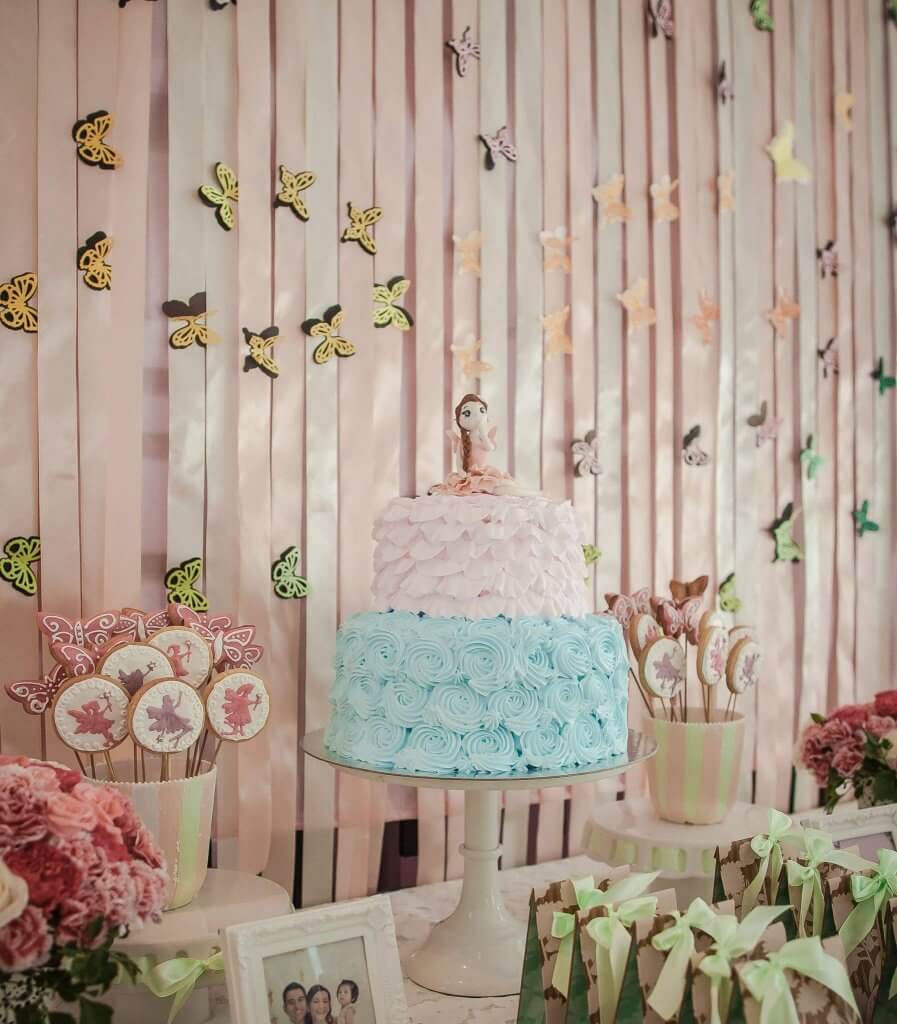
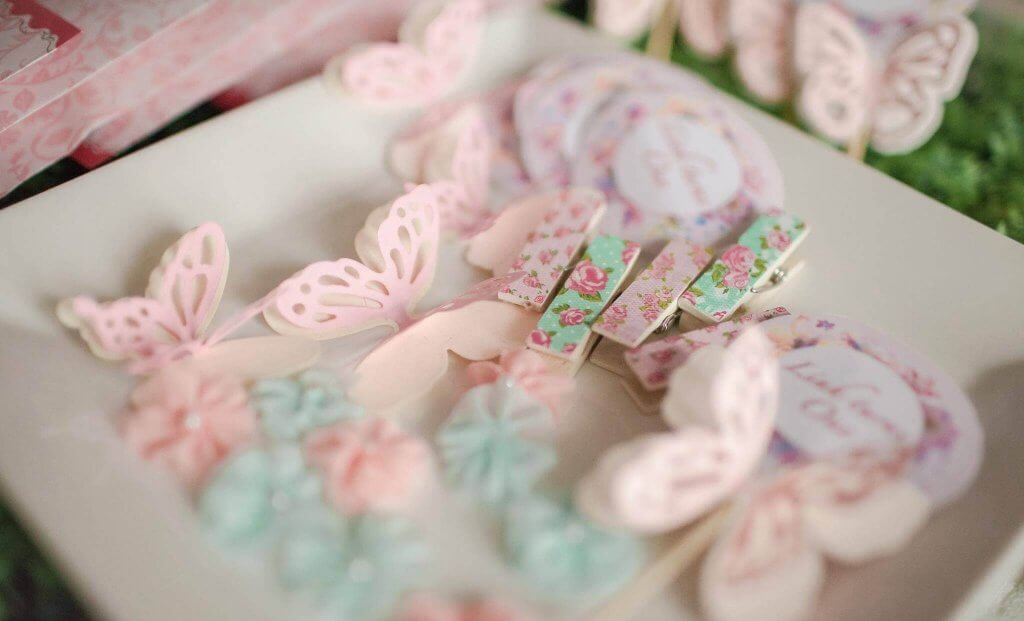
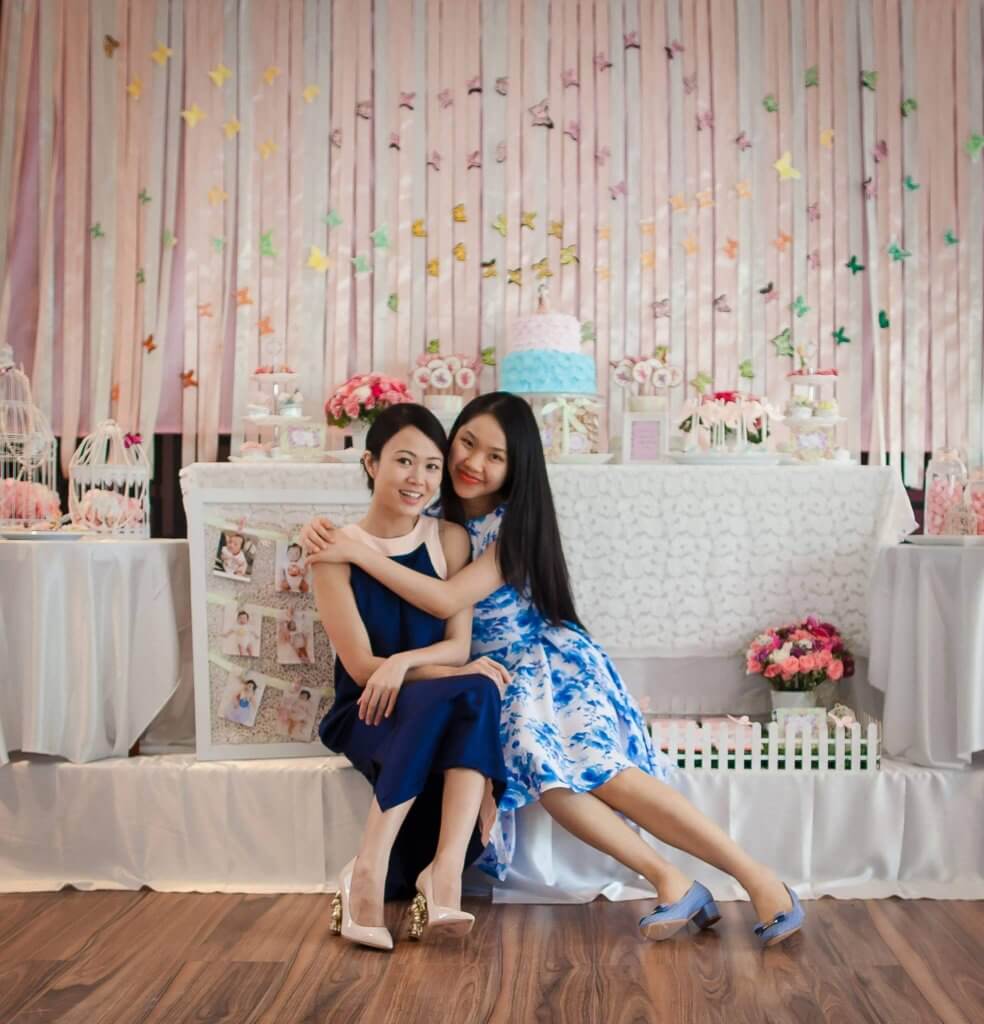
3. Ribbon Butterfly Backdrop: use pastel-color ribbons and sew them onto a fabric panel. Then use shape cutters to make as many paper butterflies as you can. Sew the butterflies onto the ribbons in a random pattern.
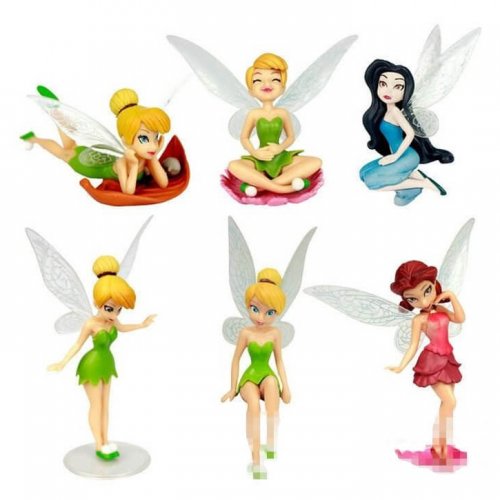
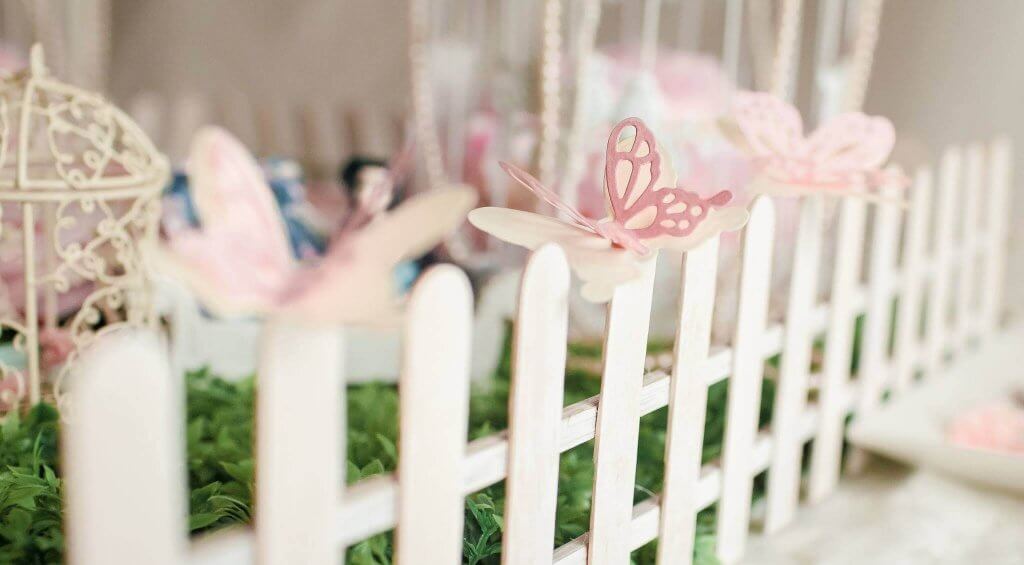
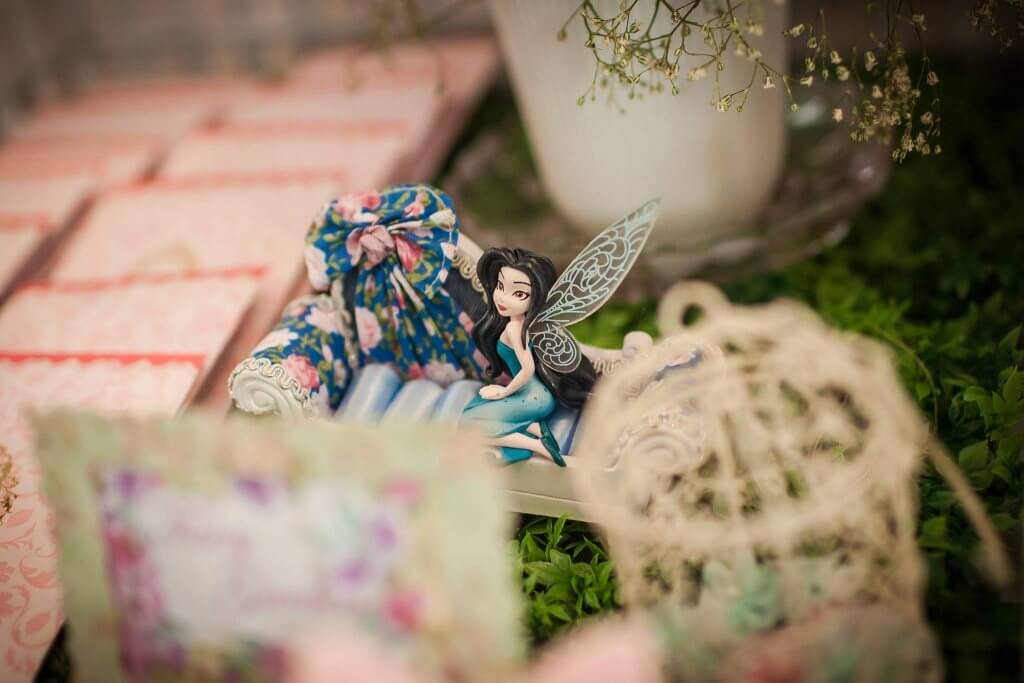
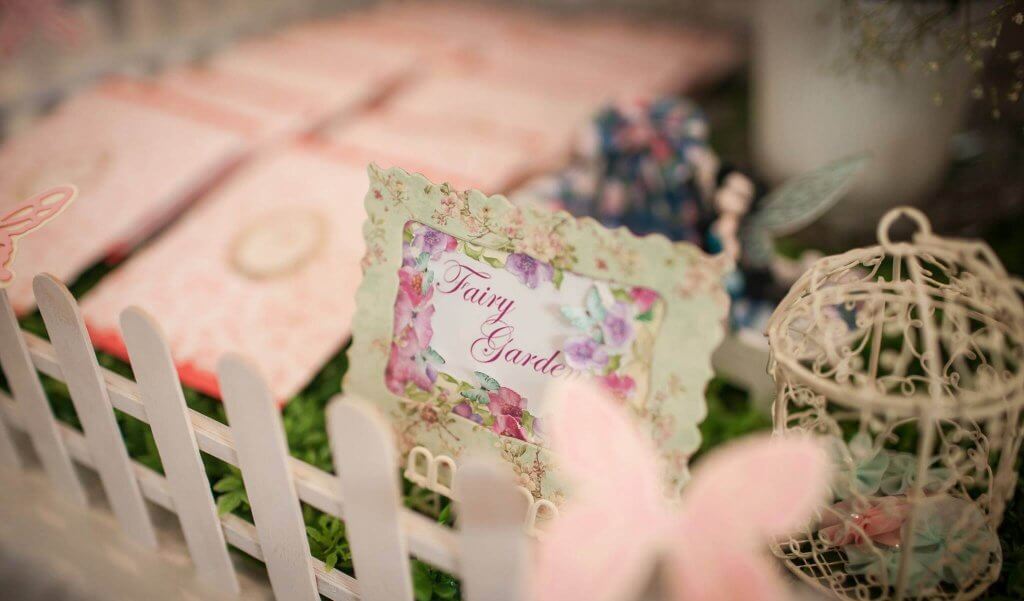
4. The Fairy Garden: Use ice cream sticks in white color and glue them together to make a square. Fill the square space with fake glass. Adorn the fences with precut paper butterflies. Purchase fairy figurines on ebay and put them inside the garden. You can also fill the garden with party favors.
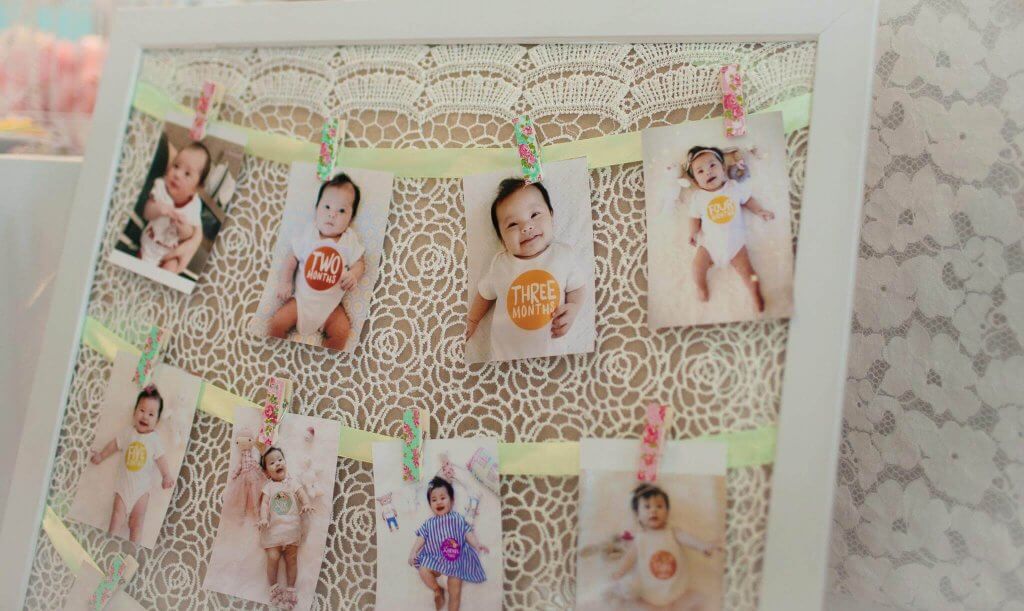
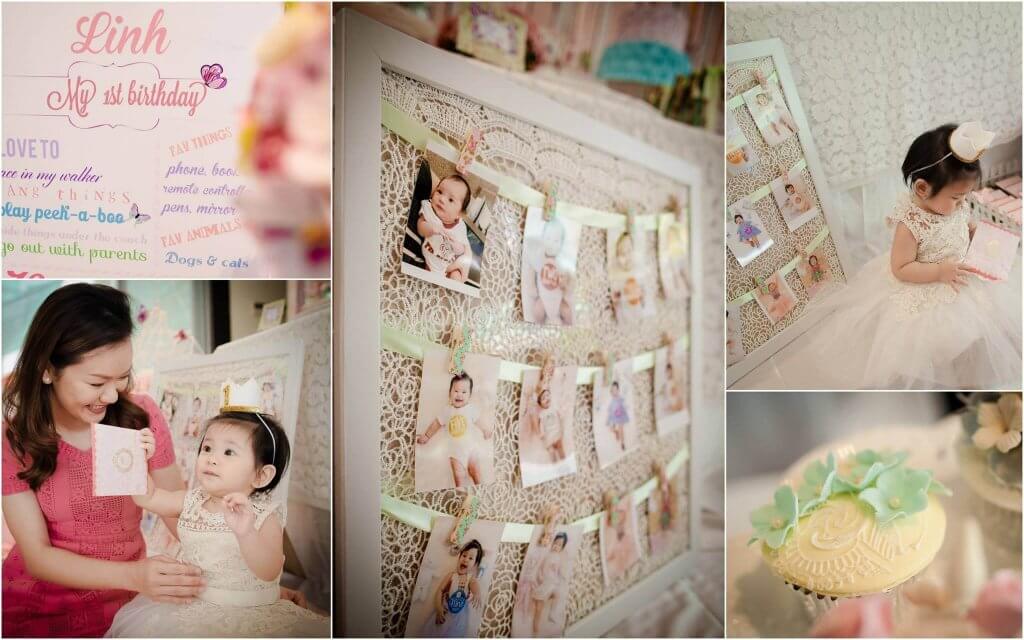
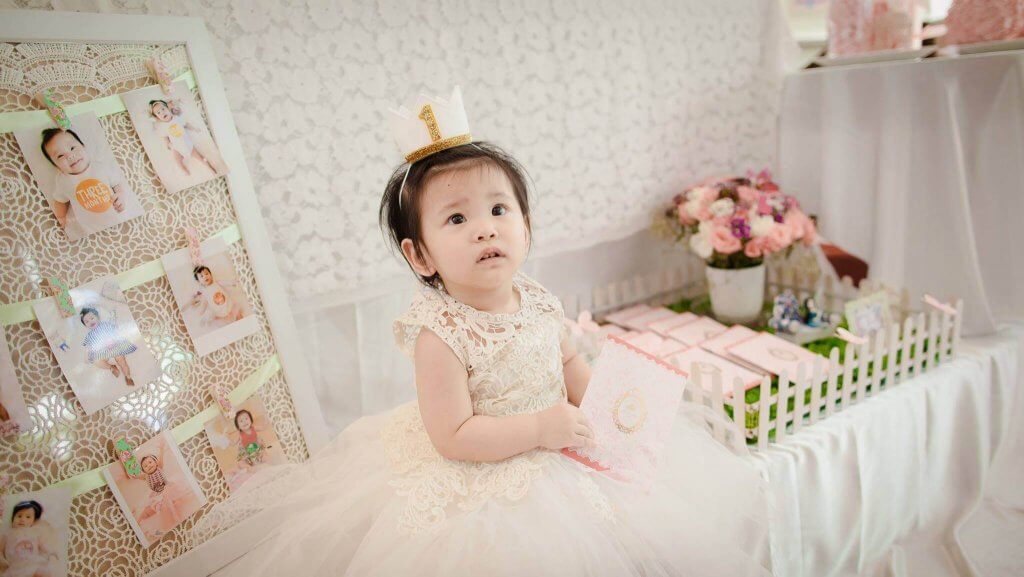
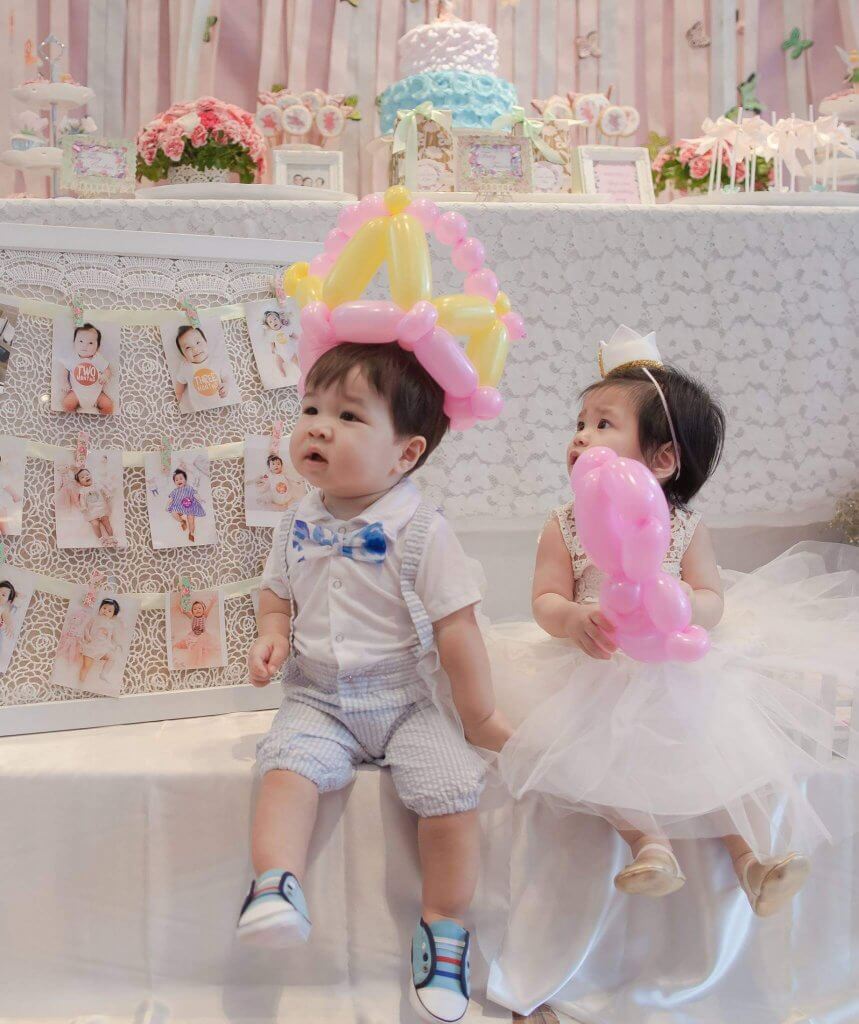
5. Lacy Picture Frame: purchase a plain white picture frame that you can easily find at stores like Ikea or Target. Use lace to make several strings that hang across the frame. Use floral clips to hang baby pictures (for example, from one-month old to 12-month old).
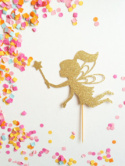
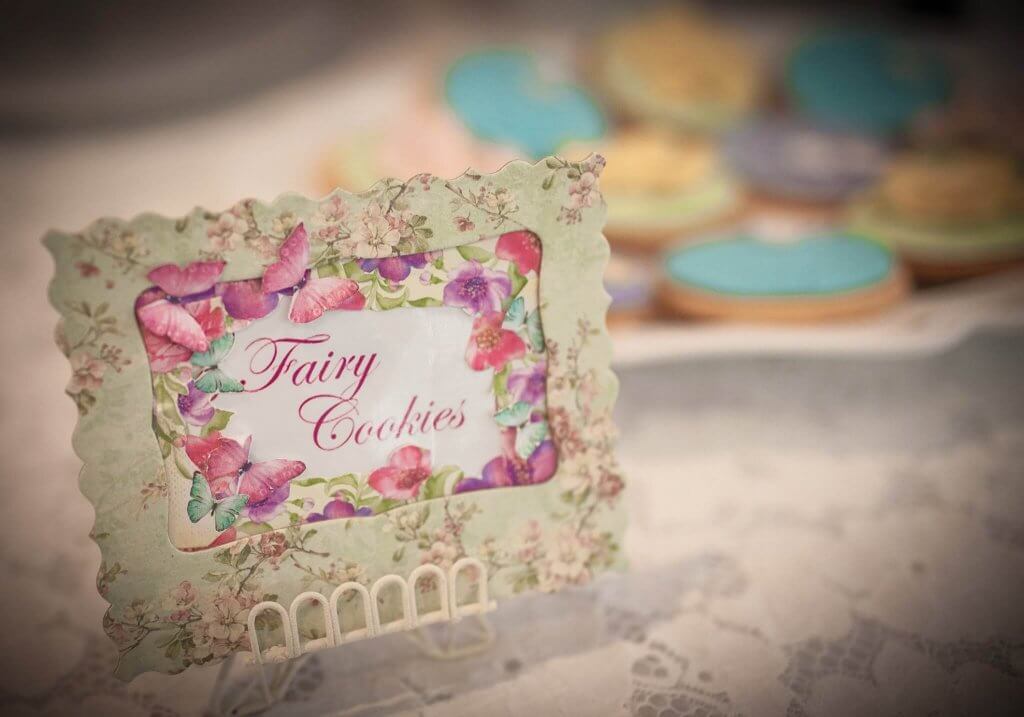
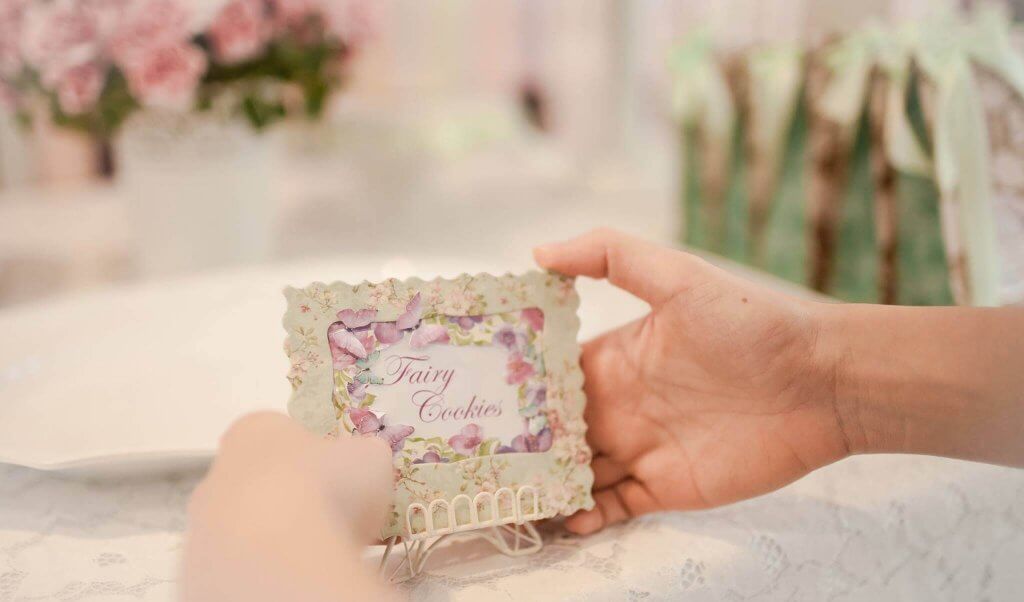
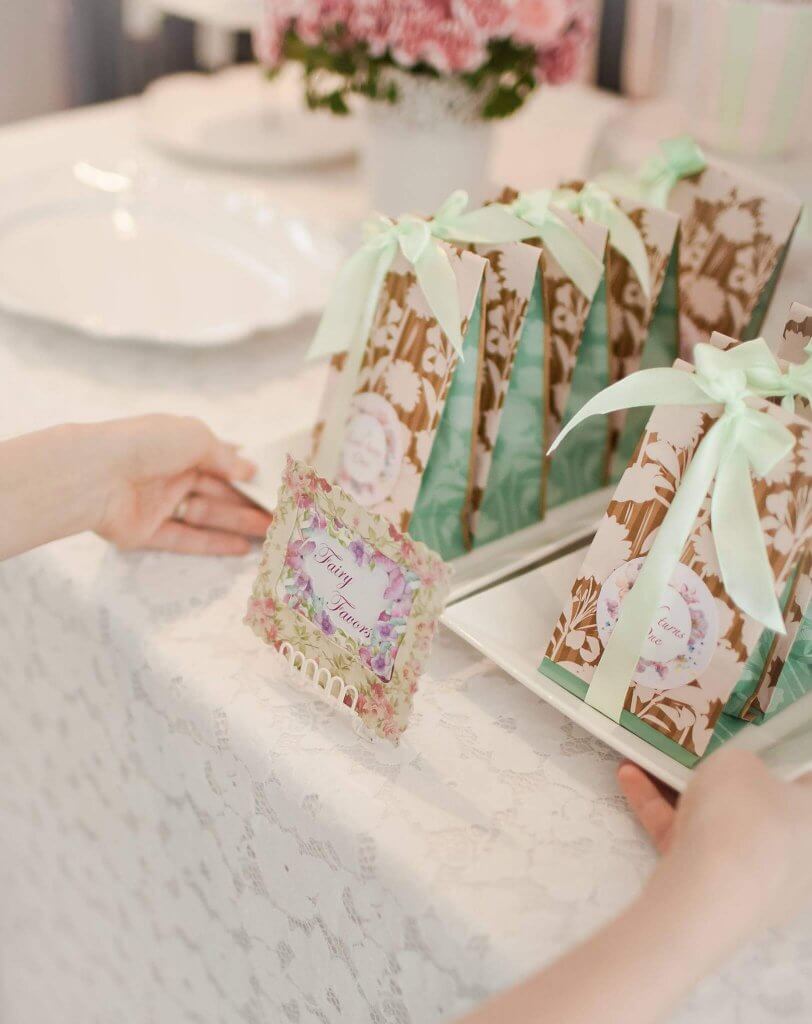
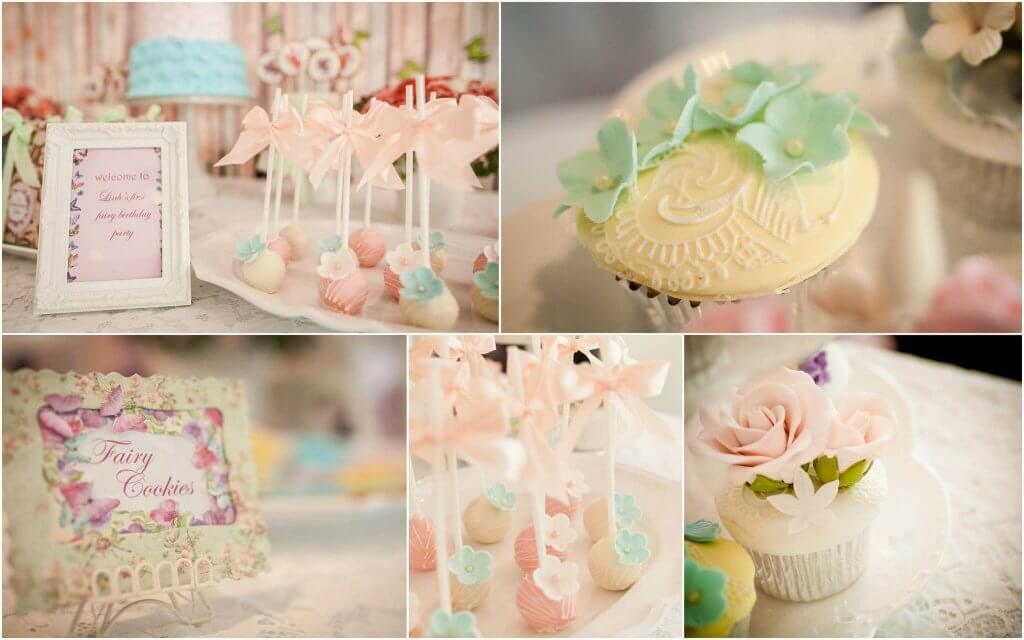
6. Fairy Signs: you can create some online templates and print them at home for “Fairy Wands”, “Fairy Favors”, “Fairy Cookies”, “Fairy Garden”,…and place these signs on mini easels and display them on the main table.
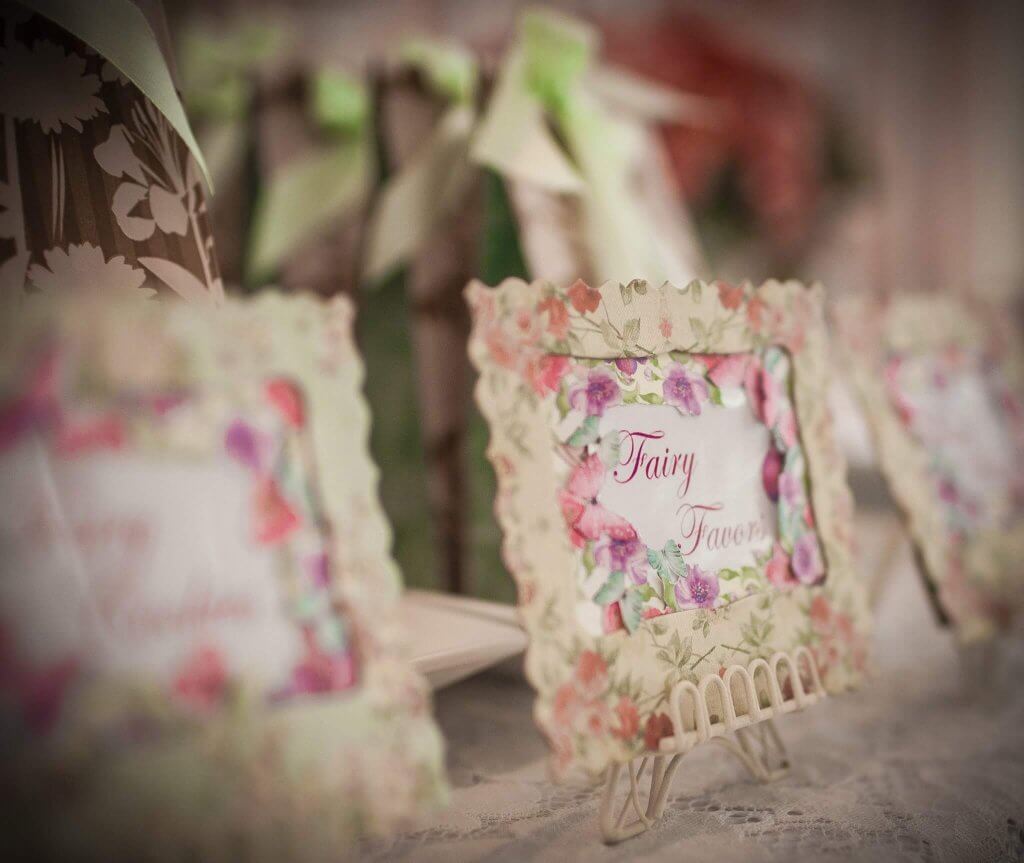
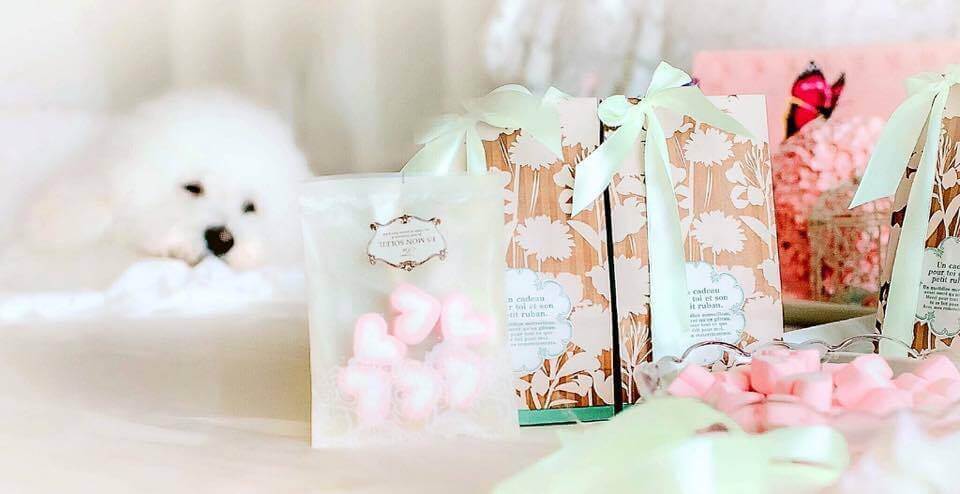
7. Party Favors: Use favor bags and ribbons that match your color theme. We chose pastel green favor bags and pastel green ribbons. And we filled these bags with pastel pink marshmallows.
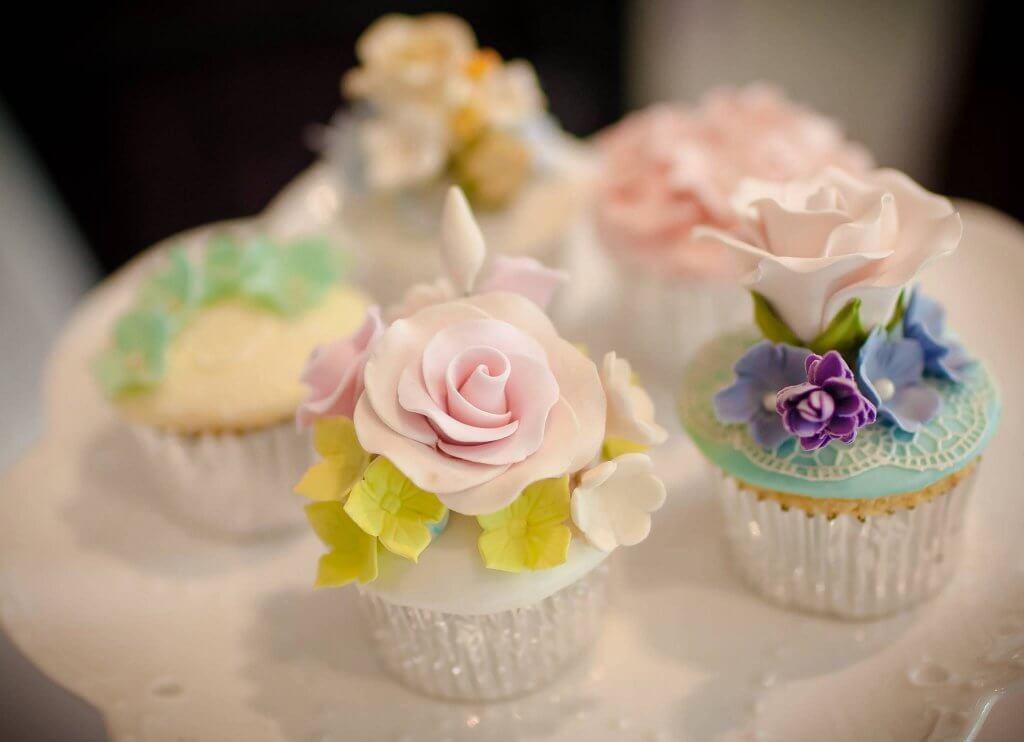
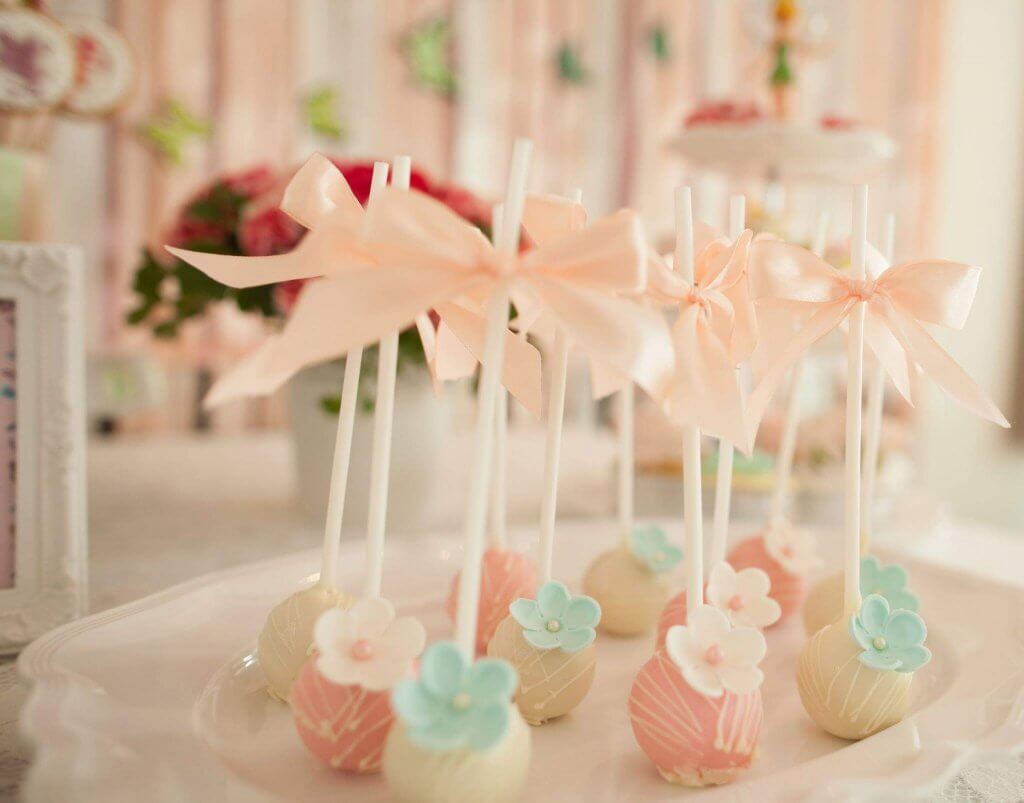
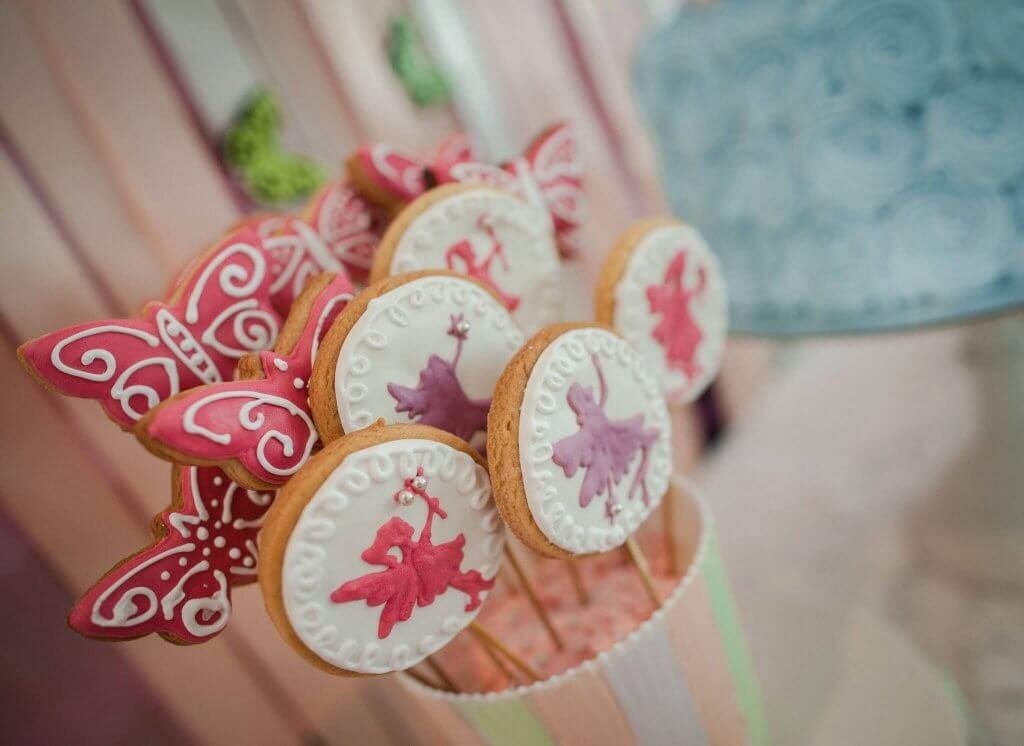
8. Fairy Cupcakes, Cakepops, and Cookies:
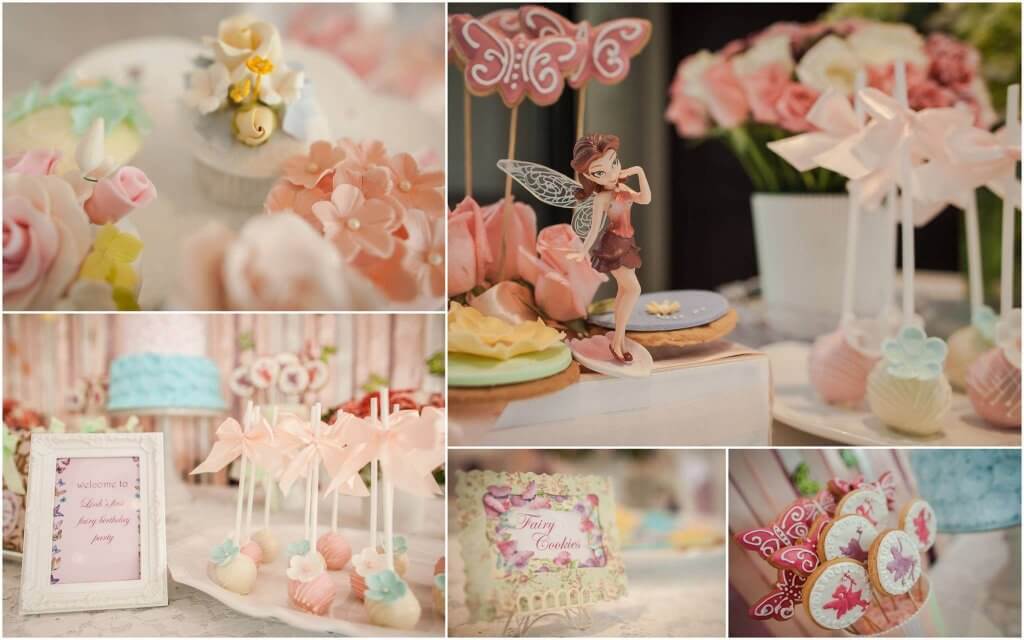
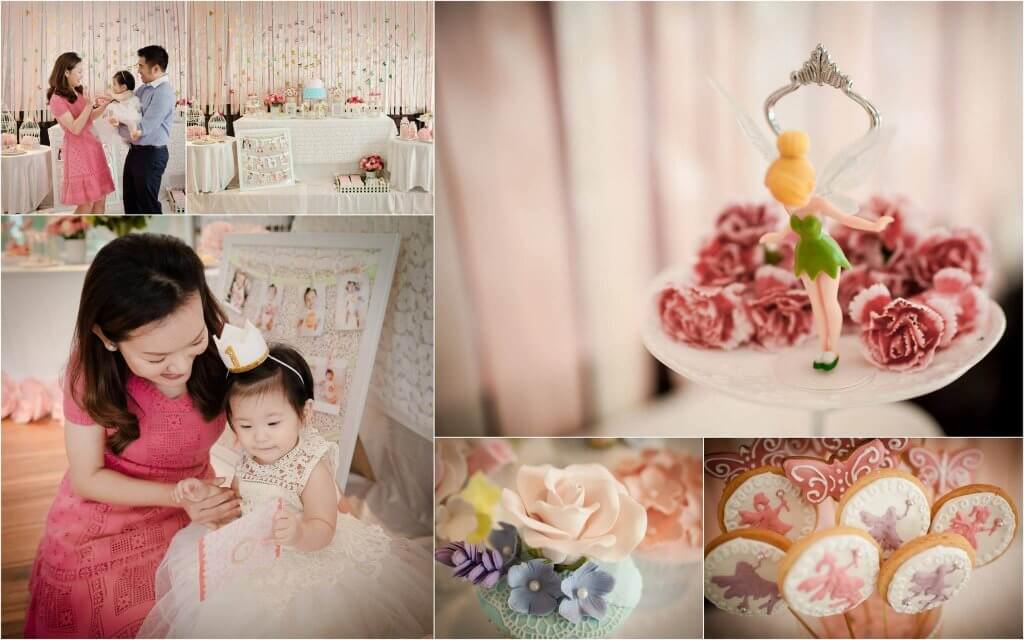
The focal point of our party were the enchanting floral cupcakes. Our baker did such a wonderful job on these babies! My heart is still fluttering over the precious details every time I look at these pictures.
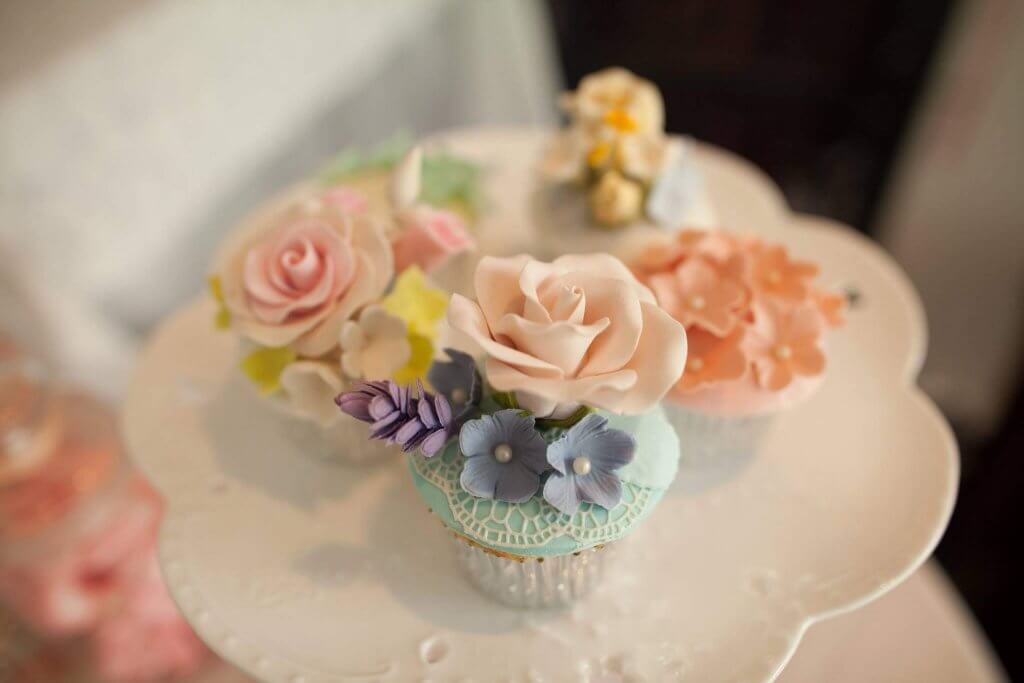
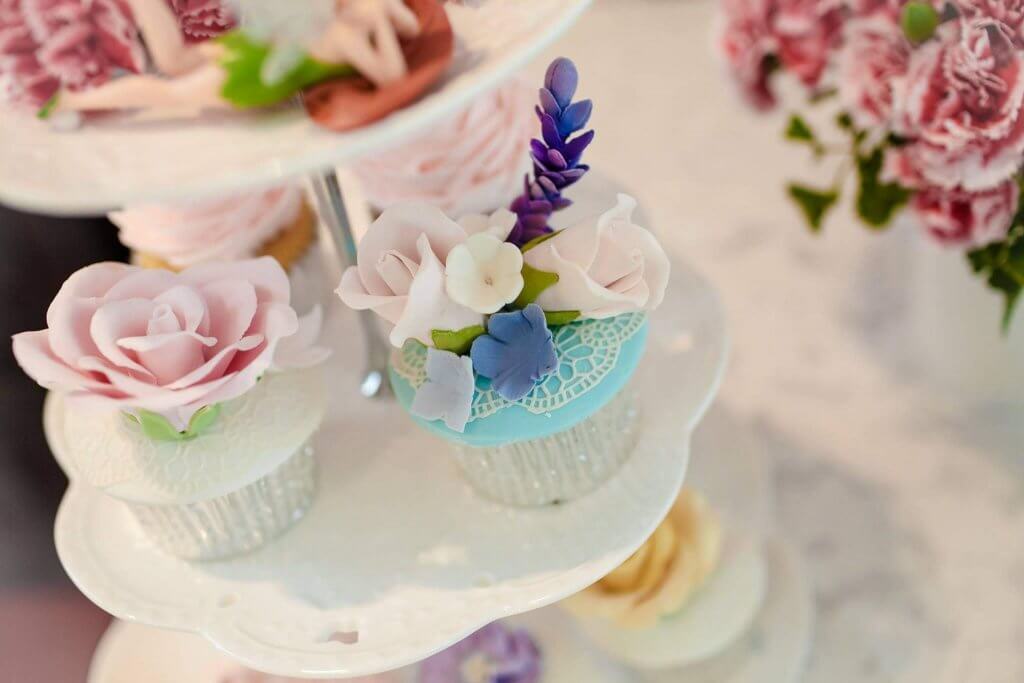
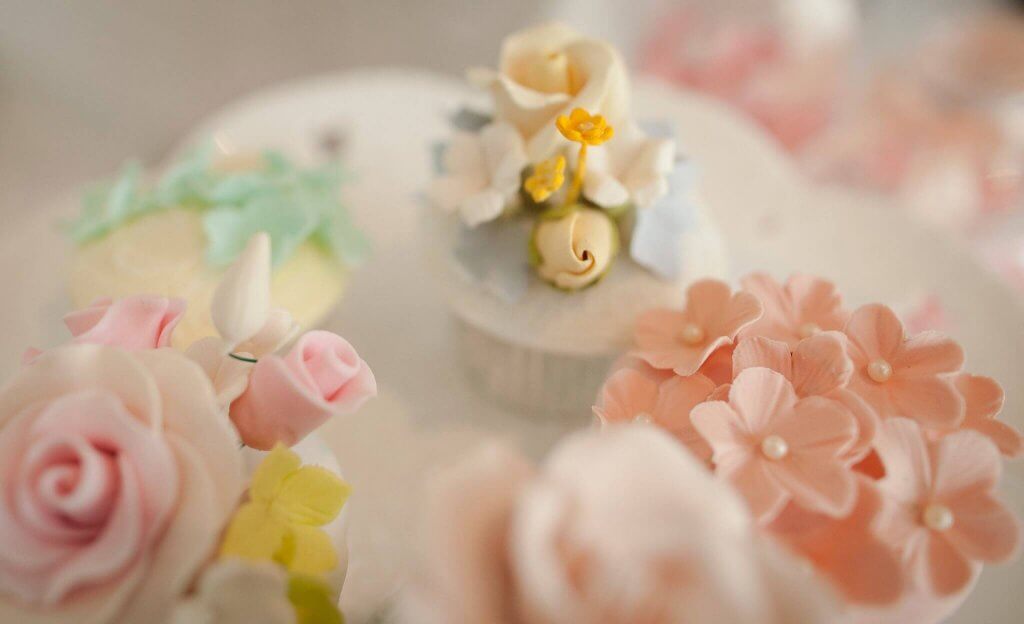
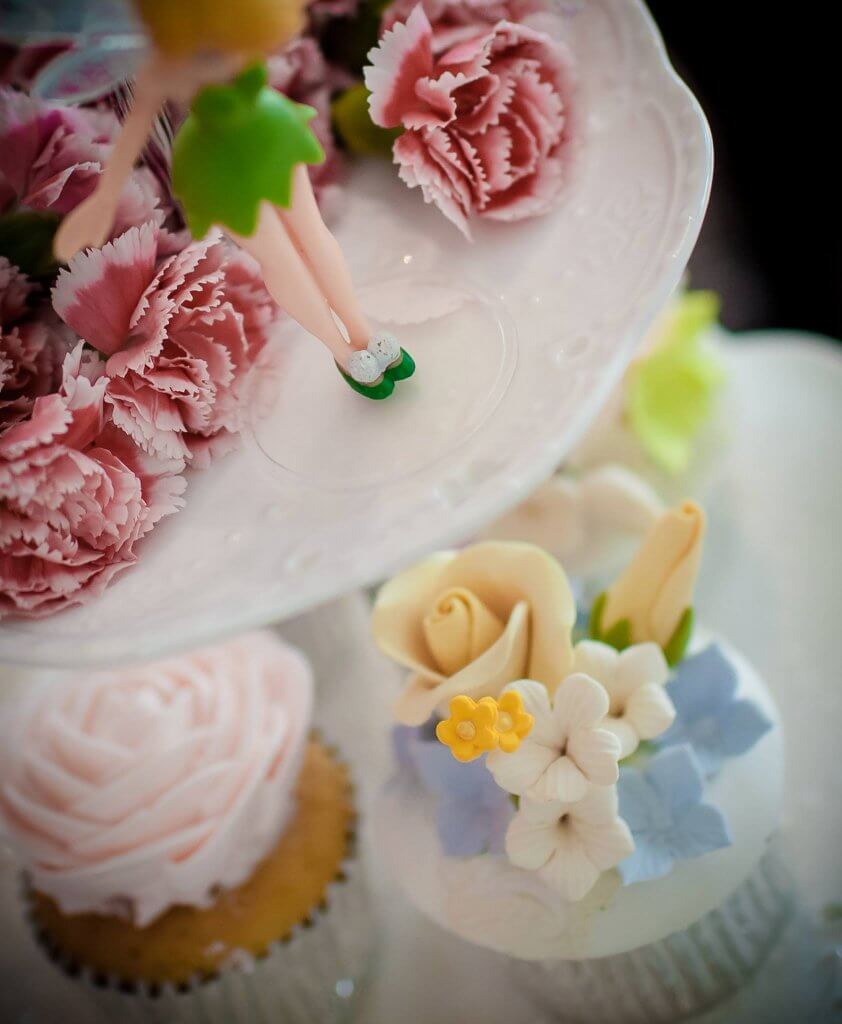
Our fairy cakepops (that we called them “Fairy Wands”) and fairy cookies that were initialed with birthday girl’s name were also huge hits at the party!!!
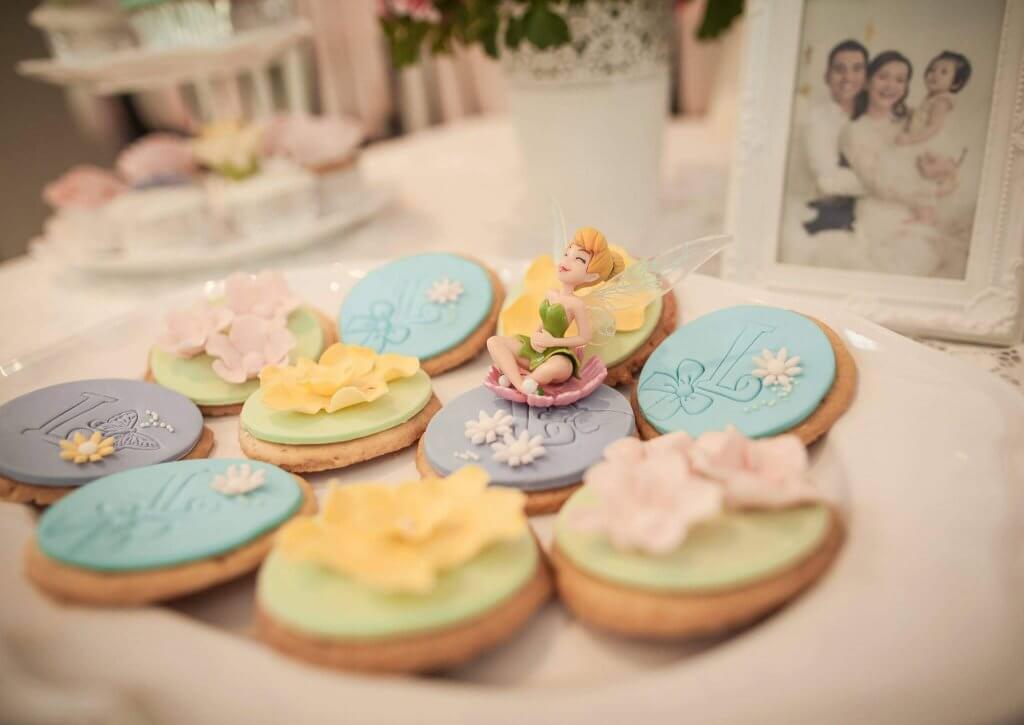
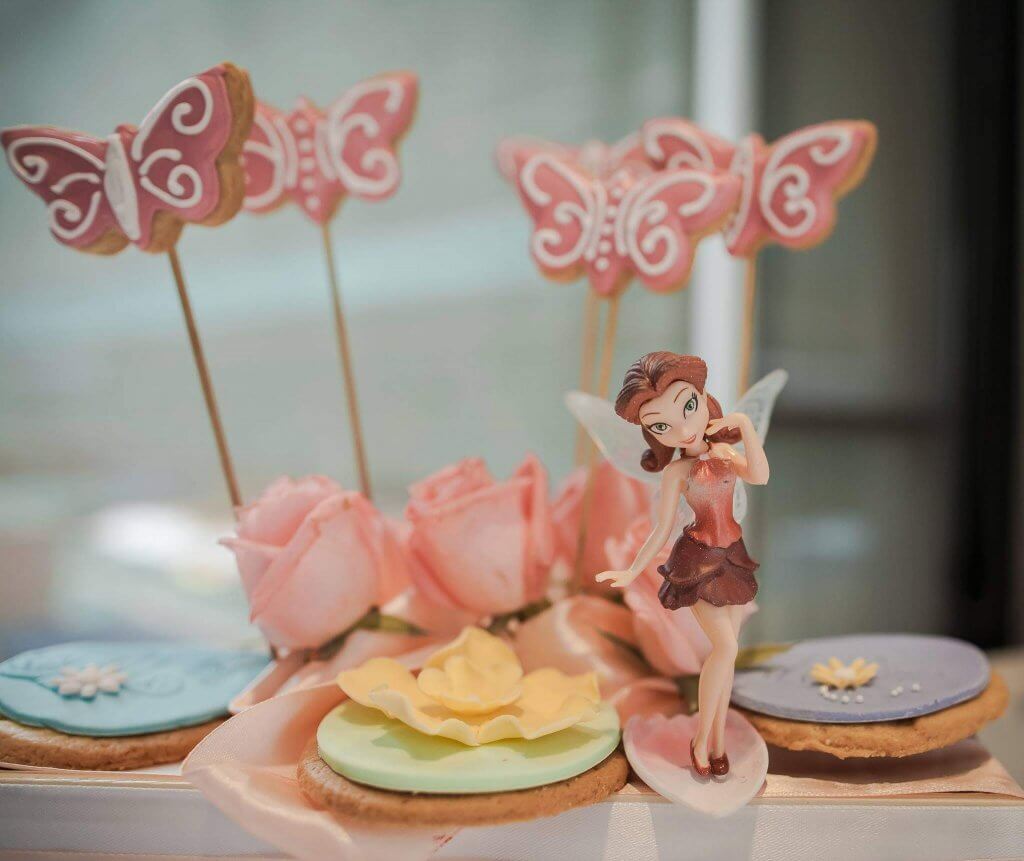
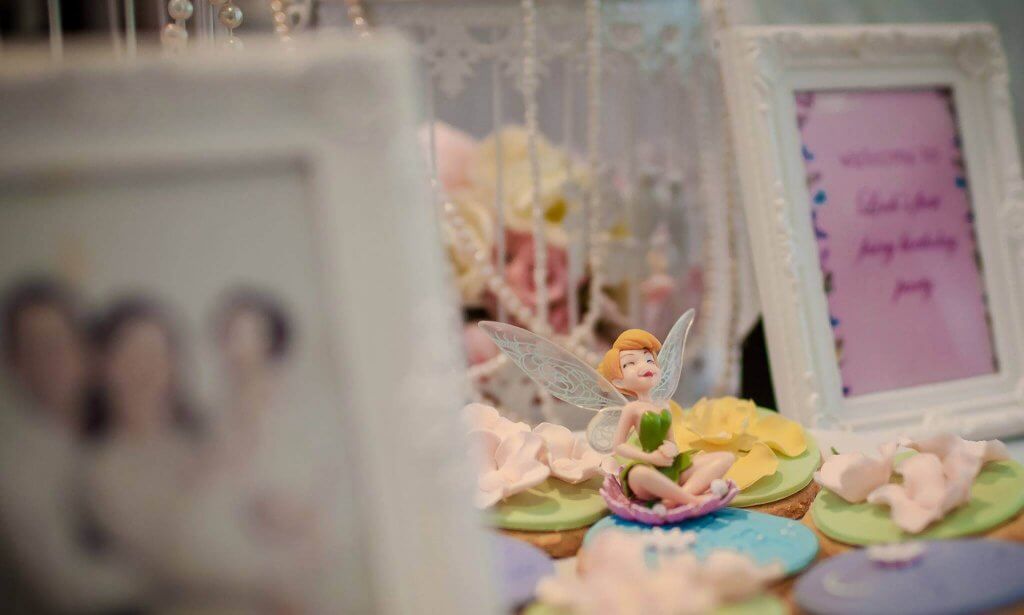
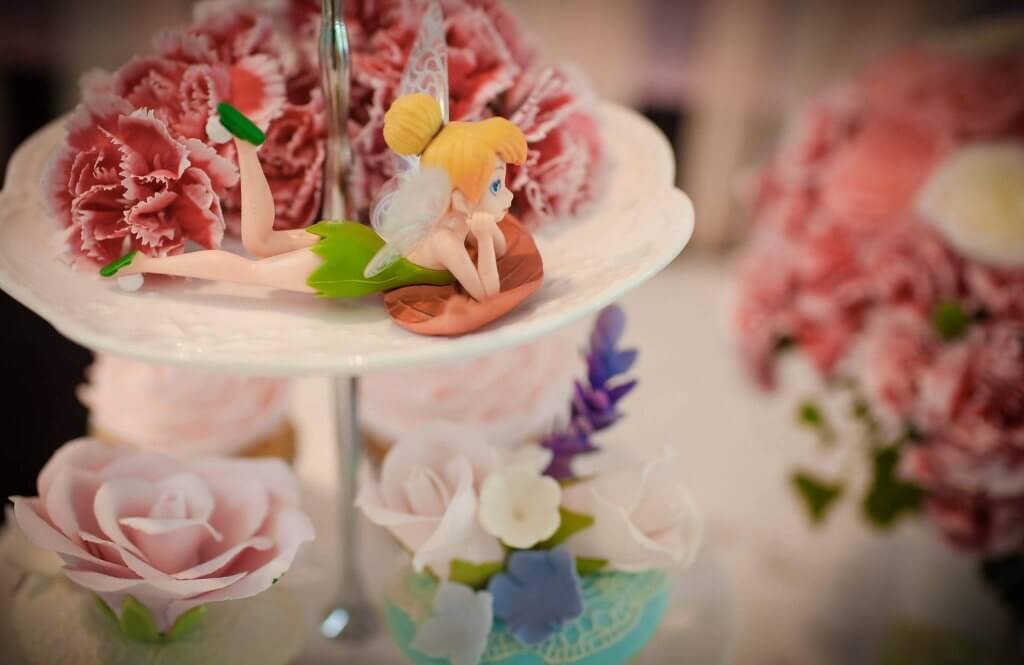
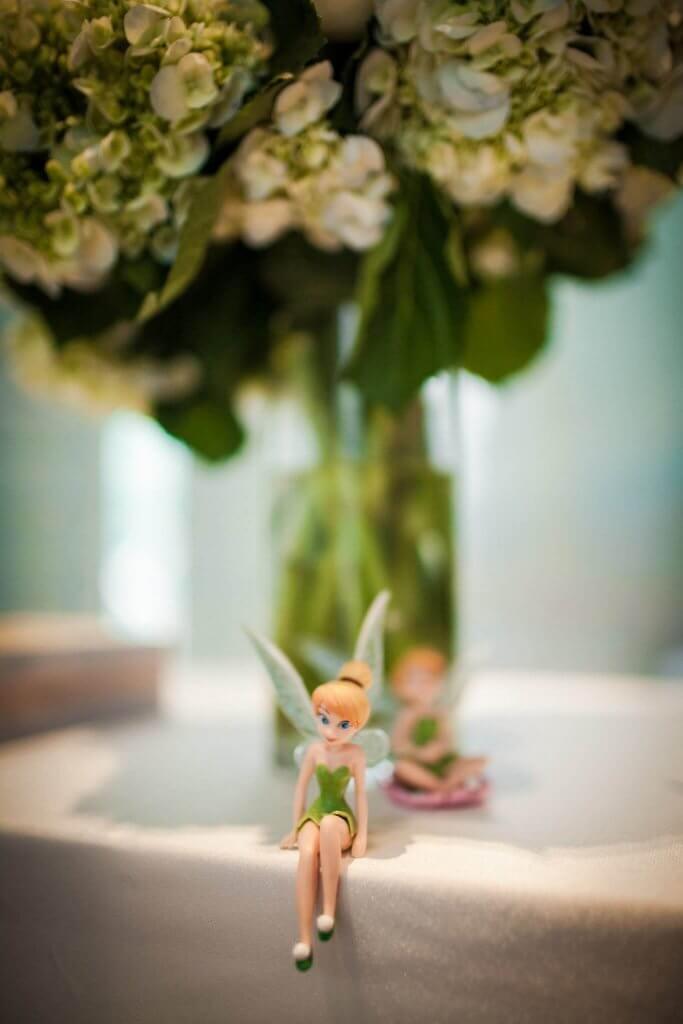
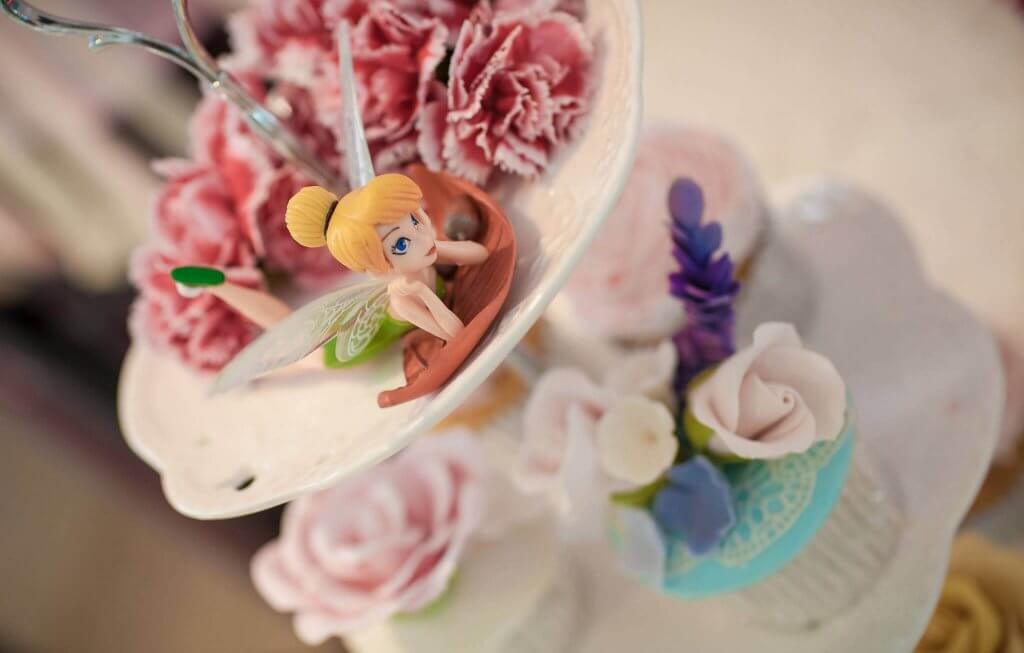
9. Fairy Figurines: buy as many fairy figurines as your budget allows since you need these babies scattered around your party area to emphasize the theme. Place them on the cupcake 3-tier stands, on the cookies trays, on the flower pots,…
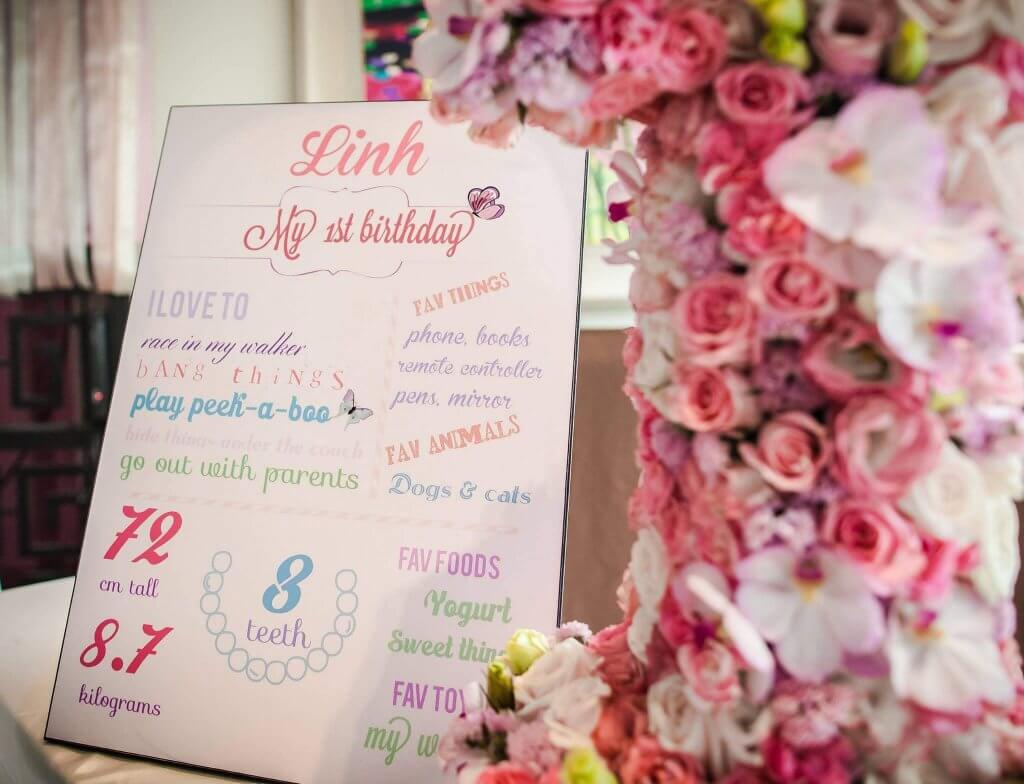
10. Information Board: create a personalized board with interesting/unique details about the birthday girl: hobbies, favorite food, favorite songs, favorite activities,…
Hope these DIY ideas help you with planning for your kid’s birthday!!!
Here are some pictures of our fairy themed first birthday party:

July 30, 2016
Shop My Finds

